

Methods to Disable Windows Defender
Disable Constant Monitoring
This method will allow Windows Defender to continue working but only for scheduled scans. Windows Defender will no longer automatically scan files you install or download from the Internet. If you have a third-party antivirus running, Windows 10 should automatically do this, but it doesn’t hurt to check it and make sure. If you don’t have another antivirus program on your computer, Windows 10 will automatically reset this option, so you need to redo it every time you restart your computer.
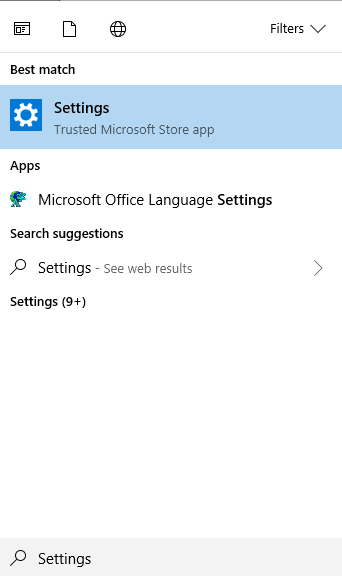
Step #1
Type “Settings” into the search bar without quotation marks. Choose “Settings” from the list that appears.
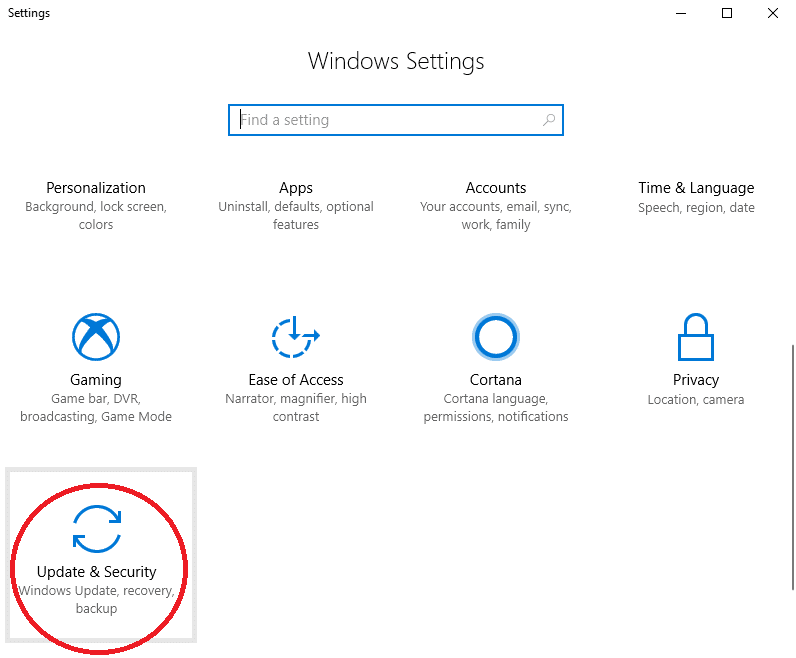
Step #2
Click on “Update & Security” in the Settings menu.
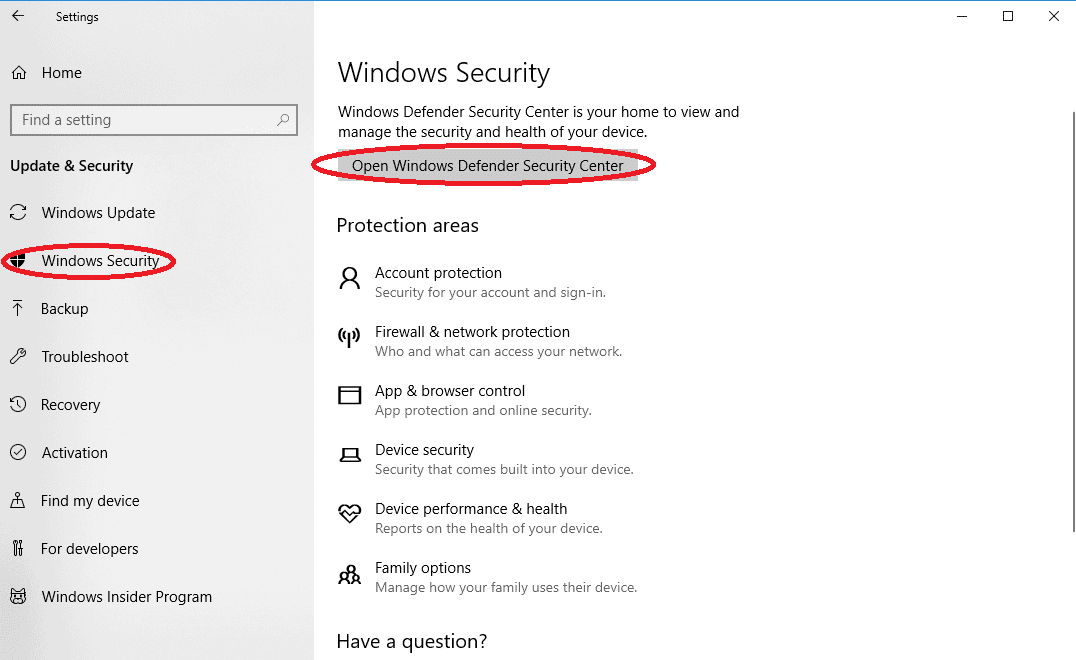
Step #3
Choose “Windows Security” and then open “Windows Defender Security Center.”
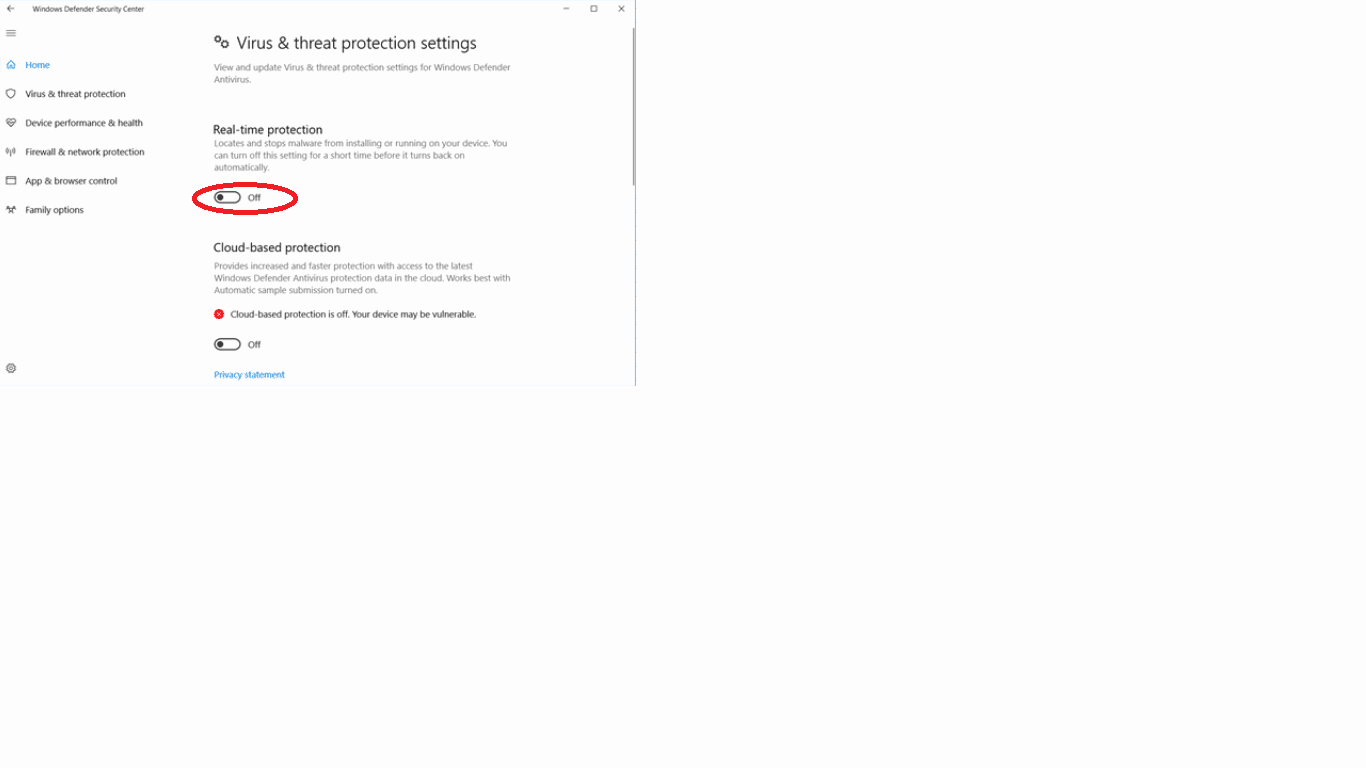
Step #4
When Windows Defender opens, pick “Virus & Threat Protection.” Go to Virus & Threat Protection Settings and switch Real-time Protection “Off” by toggling the button.
Using this method still allows you to choose to scan your computer manually with Windows Defender. It is also great for temporarily preventing Windows Defender from interfering with a trusted download.
Exclude Your System from Windows Defender
Excluding your system from Windows Defender will shut your antivirus protection off a little more permanently than the previous method. Keep in mind that not running any antivirus places your system at risk.
Step #1
Go to the Settings window by typing “Settings” into the search bar without quotation marks. Choose “Settings.” Then click “Update & Security.”
Step #2
As in the previous method, select “Windows Security” and open the “Windows Defender Security Center.”
Step #3
Click on “Add an Exclusion.” Then choose “Exclude a folder.” Select your entire “C:/” drive as the folder to exclude.
You can repeat this method if there are other drives you wish to exclude from Windows Defender’s antivirus scans.
Using the Group Policy to Disable Windows Defender
The group policy is only available to those who have some versions of Windows 10 Pro, and to those who have Windows 10 Enterprise or Windows 10 Education. Home users and some Windows 10 Pro users will need to skip this method and continue to the next one.
Step #1
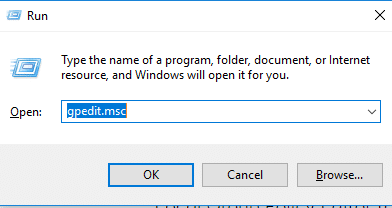
Start by pressing the [R] key and the [Windows] key at the same time. Type “gpedit.msc” without any quotation marks into the box and click on the “OK” button.
Step #2
If you see an error message, make sure you typed the file name correctly. If you did, you probably do not have a version of Windows 10 that supports the Group Policy Editor. You will have to use a different method. If the Group Policy Editor opens, continue to step #3.

Step #3
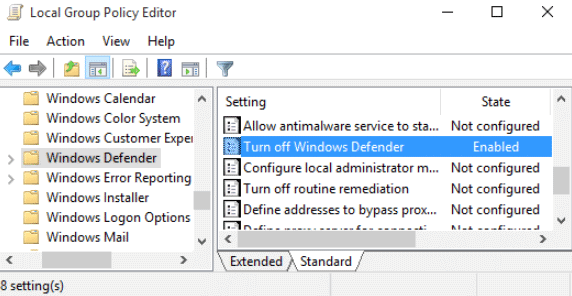
On the left side of the Group Policy Editor window, select “Computer Configuration” and then “Administrative Templates” from the list that appears by clicking it to open it. Then select “Windows Components” and finally click on “Windows Defender.”

Step #4
On the right side of the Group Policy Editor window, you should now have the option to “Turn off Windows Defender.” Click on it.
Step #5
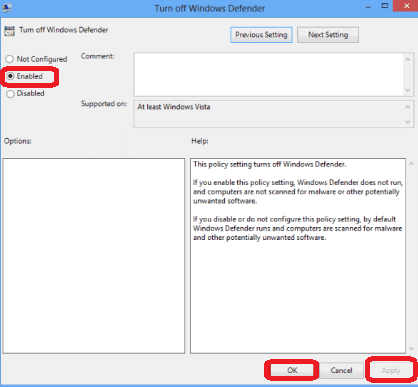
Now, you need to click “Enabled.” This enables a policy that disables Windows Defender. Click “Apply” and “OK.”
Step #6
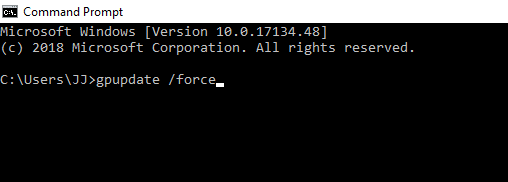
Refresh the Group Policy Settings by typing “cmd” into the search bar and right-clicking on the “Command Prompt” option. Choose “Run as Administrator.” Finally, type gpupdate /force into the prompt. You may have to restart the computer to allow these changes to take place.
Editing the Registry to Disable Windows Defender
Sadly, Windows 10 makes it difficult to shut off Windows Defender permanently. Editing the registry is one valid method of disabling Windows Defender, but it needs to be done with extreme care. Also, always perform a full backup of your system before attempting to edit the registry. Even if you modify the register correctly, you may experience unwanted side effects and performance issues on your computer.
Step #1
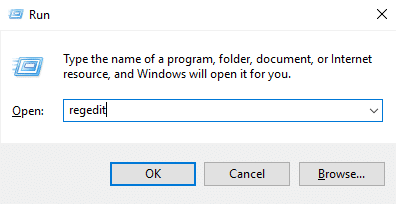
Press the [R] key and the [Windows] key simultaneously. This opens the run box window. Type “regedit” without any quotation marks into the box and press [Enter]. When you see a warning about the app making changes to the registry, click “Yes” to continue.
Step #2
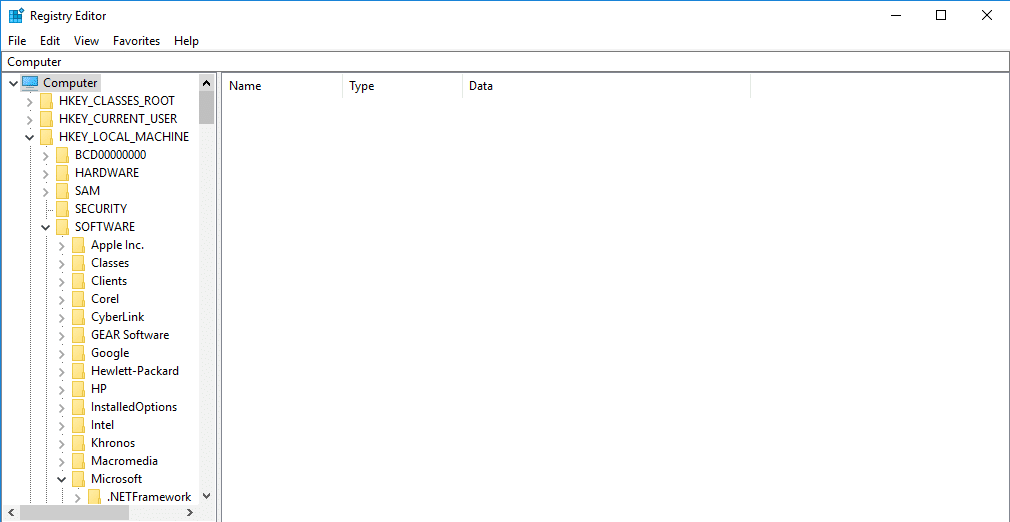
From the list on the left select “HKEY_LOCAL_MACHINE” and then “SOFTWARE.” Then select “Policies” and “Microsoft.”

Step #3
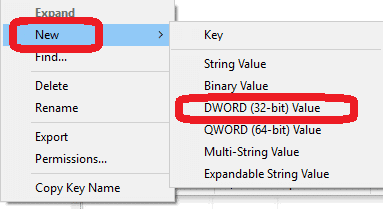
Finally, choose “Windows Defender.” From the list that appears on the right, double-click “DisableAntiSpyware.” If you do not see this option, you will need to create it by right-clicking on the blank area on the right and selecting “New.” Choose “DWORD (32-bit) Value” from the menu that appears. Name the new task “DisableAntiSpyware and hit [Enter]. Once it is created, click on it.
Step #4
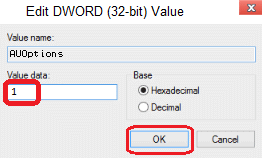
In the window that appears, change the current value data to “1.” It is “0” by default. Click “OK.”
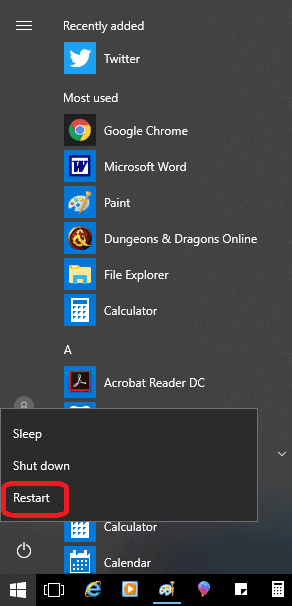
Step #5
Restart your computer by clicking the Power icon found in the Start menu and selecting “Restart.”


0 Comments